

How Does A Microfilm Conversion Project Work? [Infographic]
Digitize Microfilm Images For Better Security, Access, And Usability
Microfilm has historically been utilized for long-term or permanent record storage thanks to its impressive shelf life and small footprint. But when you need to get the data quickly, there’s a better way.
Converting microfilm to a digital format (PDF, JPG, TIFF, etc.) can help prevent data loss in the event of a disaster, reduce physical storage and equipment costs, and increase speed of data retrieval. And the best part of all, digitizing microfilm is fast and easy when you work with an experienced microfilm conversion company.
Not sure what kind of microfilm records you have? Take a look at our “types of microfilm” page to find out.
For information about microfilm scanning prices, click here to read our article covering the factors that can influence your price.
")
The Microfilm Conversion Process
We created this infographic to show you how easy the microfilm conversion process is. Generally, there are seven steps to a microfilm conversion project.
- Gain Organizational Agreement – Microfilm conversion projects often involve cross-functional collaboration and potentially board approval to obtain funding. Organizations often task a team to evaluate possible solutions available in the market. Once your organization makes a decision to move forward with a microfilm conversion project, what happens next?
- Transportation – Your microfilm needs to be transported to our conversion facility. Curious about the best way to do this? Let us help determine the best approach. (on-site options are also available; make sure to tell us if this is something you need)
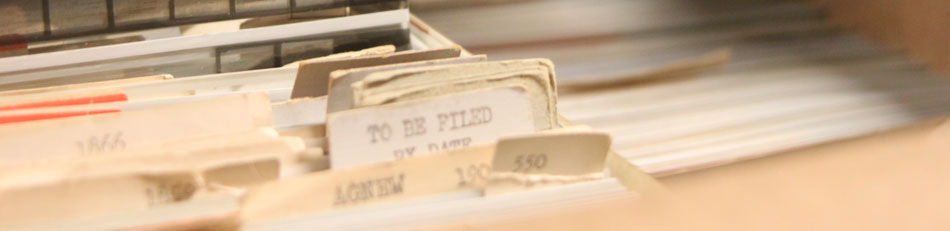
- Inventory Tracking – When the microfilm arrives at our facility, each container is tagged for tracking. Once the project begins, each microfilm roll will be tracked for unit control.
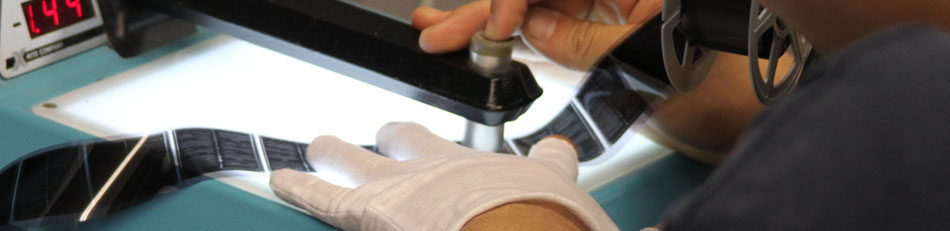
- Preparation – Before we start scanning, the Microfilm is analyzed for density and, if necessary, cleaned and repaired for optimal scanning.
- Milestone 1 (Proof of Concept) – The proof of concept is created as you reach “Milestone 1 (M1).” This is where a small portion of the project is completely processed and then reviewed by you to confirm expectations and make any adjustments.
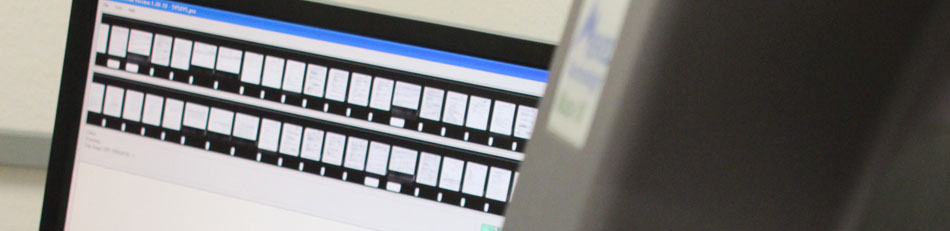
- Scanning – After the sample M1 stage is agreed to, state-of-the-art scanners convert your microfilm into a variety of digital image formats.
- Delivery – Finally, the digitized records are delivered to you via standard methods (DVD, USB, SFTP) or hosted at a secure data center and accessed from our Digital ReeL web-based application.
Bring Your Microfilm Records into the 21st Century
Digitizing microfilm is safe and easy when you partner with an experienced conversion provider. BMI has been in the microfilm business for over sixty years—first archiving information to microfilm and now digitally converting it. Custom scanning solutions, thousands of customers, and millions of converted microfilm images make us one of the most trusted microfilm conversion companies. Contact us today to learn more about how to make your project a success.