In the following article, we’re going to help you get a basic understanding of the two types of aperture cards: standard and Hollerith.
It won’t make or break your project if you don’t know what they are, but having some insight into their differences and how that can affect your project will be useful to know. We’ll cover the basics of each type, costs to scan, processes, and some more.
What Are Aperture Cards?
Aperture cards are a type of microform made from cardstock, roughly 3 inches by 7 inches in dimensions. When you look at them correctly, there is an aperture on the right side that holds a piece of 35 mm microfilm.
In most cases, aperture cards were utilized for records such as engineering drawings, planning, building records, and similar documents.
Standard Aperture Cards
When it comes to aperture cards, there are actually two types to really look out for. The first of which is what we call the standard aperture card.
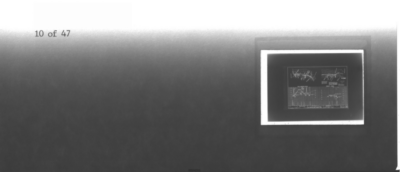
When you hear someone say aperture card, what you’re going to think of is just that plain cardstock, like that kind of cardboard-type material with that piece of microfilm on the right side of it in that aperture.
There will typically be one image on the piece of microfilm, and on the card itself, there will be what we call a title block, which includes either fielded information, meaning some sort of consistent format on the top with typed information or handwritten information, or it might just be free-form data across the top of that card. We call this the title block information.
There are also aperture cards that have multiple images per frame–these are 16mm images in the aperture, compared to the 35mm image.
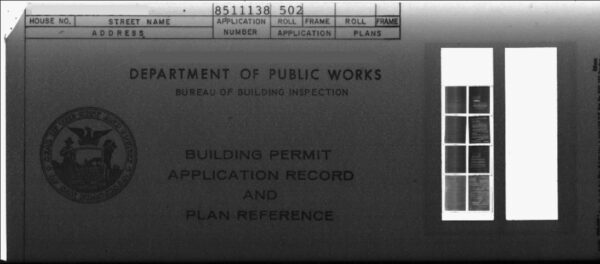
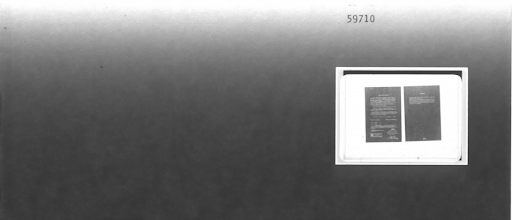
The reason we call this the “standard aperture card” is because it’s the most common type. But we’re going to compare it with the Hollerith aperture card described below.
Hollerith Aperture Card
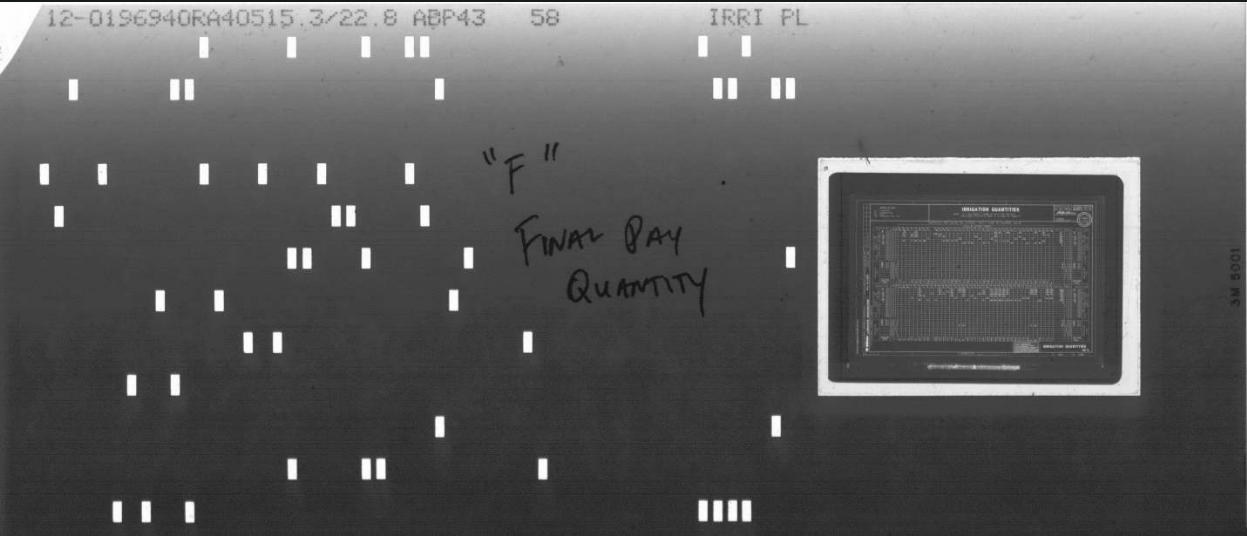
When you hear the term “Hollerith aperture card” it refers to an aperture card much like the standard type, except instead of just plain cardstock, these actually have many punch holes in the card itself.
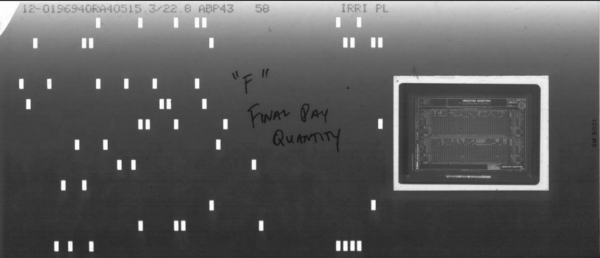
These punch holes are considered the Hollerith data.
The interesting thing about these types of aperture cards is that instead of having to manually key or capture the information from the title block, they can be run through a special card scanner. This scanner captures the punch hole data, the Hollerith information, and then creates the indexing for the digital file, naming that file from the punch holes.
It is important to note that when you scan and use the Hollerith data method, it’s not a guarantee that the data will come out cleanly or be captured at all. In some cases, the data just gets spit out in a very jumbled format, or it just doesn’t capture it all. Then you have to go to a different level of indexing to name those files.
But, when it works, it’s a very efficient way to capture the data as the card should be named and is the reason the original creators of the aperture cards used the punch holes and Hollerith data.
Scanning Aperture Cards To Digital
Costs
At a high level, when you’re scanning aperture cards, you’re looking at something around $0.25 – $0.75 cents per card. It really depends on the type, whether standard or Hollerith. The information on the image itself can vary; it could be something like an engineering drawing on a 35mm piece of film.
As we stated above, in some cases you might have multiple images—either a 35mm frame with multiple smaller images or multiple strips of 16mm film. These have to be cropped or framed to capture those individually.

Also, indexing can be an important factor when it comes to the cost of your project. If you’re using Hollerith, it could be a cost-effective way to capture the data, as long as it works. If it doesn’t, you may need to go to the next level of indexing, which can be a bit pricier.
Consider whether the card title information can be subcontracted out to keep costs down, or if it needs to be done internally with your scanning partner. Depending on the direction you go, your costs will vary based on these multiple factors.
Process
The process to scan aperture cards at a high level goes like this: assuming we have a contract and a scope of work, we receive your cards, tag them, and store them in our facility. They’ll be tracked the entire time they are with us during the scanning project. A process flow will be created for your project that will include all the steps needed to convert your cards from analog to digital.
We will then run our Milestone 1 Proof of Concept process, which is the build-test-refine method. This allows us to test the process flow we’ve built, refine it to ensure it works, and then get your approval to move forward with the rest of the project.
The cards will be scanned, and then post-processing will occur, such as applying OCR. There will be quality assurance checks, and indexing will be done so that when you receive your files, you have a way to access and utilize them.
Finally, there’s the delivery phase, where we actually get the digital files to you. This can be done via SFTP, USB, or even our digital real posted application.
Outputs
The outputs available for your aperture card digital images include traditional types such as PDF, TIFF, or JPEG, and you can also use our Digital ReeL secure hosted application. In such an application, the images will be stored in our secure system, and you can access them from internet-connected devices.
You can apply global text search, as well as image enhancement and adjustment. This image enhancement can be critical for aperture cards because they are derived from microfilm.
Microfilm (from which aperture cards are made) is a nuanced material that often does not provide high-quality images, and using a traditional output may prevent you from having a good lateral image. Using our Digital ReeL application, you’ll be able to adjust images to make them legible and optimized based on individual user needs.
In Closing
Understanding the different types and uses of aperture cards is crucial, even in a digital age. While technology has evolved, the role of these cards in archiving and distributing documents remains significant.
By selecting the right type of aperture card and vendor, you ensure high image quality and data integrity. They continue to serve valuable purposes in various fields, especially where historical documentation is essential.
Next Steps
Reach out to us today! Click the “Get Your Quote” button below, fill out the form, and we’ll quickly reply to you to discuss your project.
Further Reading
Aperture Card Scanning: Frequently Asked Questions
Do you have questions about aperture card scanning? Here are some frequently asked questions that we answer for you, including “how long will my aperture card scanning project take?” and “what’s the aperture card scanning process?”
The BMI Aperture Card Scanning Process
Do you have aperture cards you want to scan and are curious about how it’s done? Our 10-step aperture card scanning process will show you how we convert your physical aperture card collection to digital files, including steps such as transportation, process flow creation, scanning, digital delivery, and more.
Dos & Don’ts For Successful Digital Conversion
Digital conversion projects can be simple, but that doesn’t mean they’re easy. In this article we’ll give you some “dos” that’ll get your project moving in the right direction (success!) as well as some “don’ts” that you’ll want to avoid.

