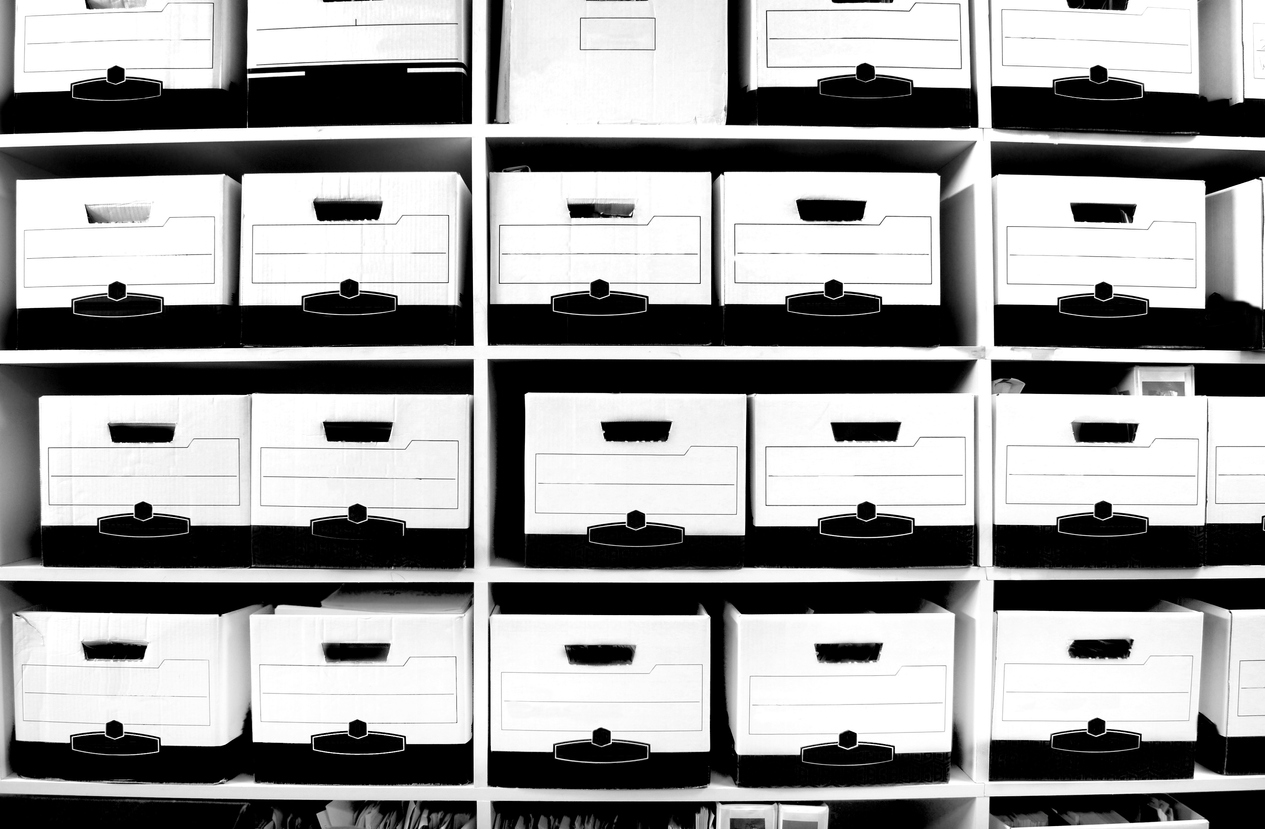
Are you considering scanning and imaging your paper records? You know, the files that are boxed up next to your desk, down the hall in the closet, and also piled in the warehouse?
If you are, we’ve put together a quick overview of how you can approach your scanning project by deconstructing it into it’s smaller pieces. Scanning boxes of paper seems easy from the outside, but there’s more to it than meets the eye!
Once you’ve read through our article you should be ready to chat with a company about your project and have a good idea of what to look out for. (and take a look here for some secrets to lower your price!)
Do you prefer video? Watch our video version of the blog to
learn more about approaching your box scanning project!
Big To Small
When you first take a look at an upcoming scanning project you might be overwhelmed with the thought of doing it. “Wow, how are we ever going to get these 500 boxes scanned?!” And having that thought isn’t a bad thing because conversion projects shouldn’t be taken lightly, either.
As the saying goes, “How do you eat an elephant? One bite at a time.”
We’ll show you how to look at a box scanning project by going from big to small, and give you ideas of how to “break down the box,” taking your project from a holistic, single event into a sequence of individual pieces that’s more manageable.
The big to small sequence goes like this:
- Project
- Document types
- Boxes
- Folders/files
- Pages
- Fasteners
- Condition
When looked at this way, it becomes a much less stressful exercise and lets you understand the various pieces that make the project a whole.
Project
This is the elephant: your project as an entire concept. Very high-level thinking at this point with ideas about start and end dates, costs, personnel involvement, and other things in this area.
When you’re at the “project” level you’re probably researching ways to carry out a scanning project, looking into potential vendors who can do the work for you and what to expect, and asking the people that will be affected by the scanning (aka the people who use and need the hard copy records) what they think and what would help them do their job better.
Since you have another job and aren’t in the document management business, you shouldn’t be worried about having every answer available – that’s for companies like us to take care of!
Document Types
Once you start working with a company that’ll scan your records, you’ll likely be asked to categorize your records into document types, or “doc types” for short. These are most often identified based on the type of file, such as a year, an alpha range (“A – D”), a file number, and so on. There’s no “right” way to create doc types because it comes down to whatever works for you and what makes sense for your staff.
When you go ahead with a scanning project, knowing your doc types will be helpful so that your scanning partner can organize your digital files in a similar way, replicating what you already know.
Boxes
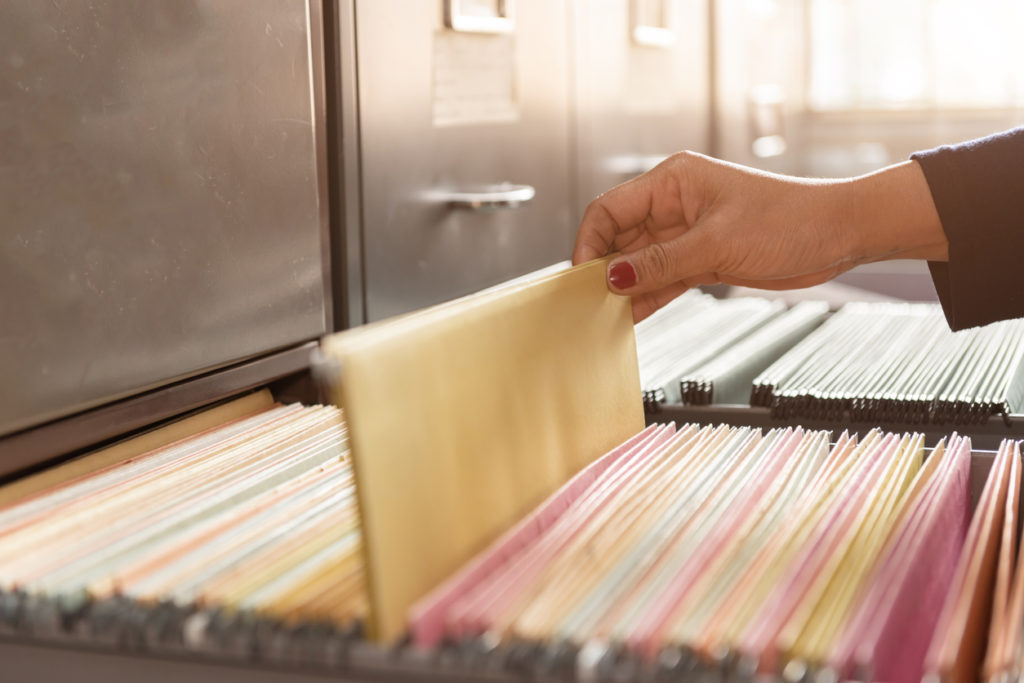
Boxes are our favorite unit of measurement when we work on a paper scanning project because it’s a simple, almost standard unit of measurement that can give us a solid idea of the project scope.
The “box” we’re referring to is the banker’s box, 10x12x15”. Other box types and sizes exist, but the banker’s box is the most common and the one that most people think of when they refer to a box.
Once you have your doc types figured out, you’ll want to identify each individual box to have the context reference point for the files inside of that box. This can be as simple as writing something on the front like “Student Records Spring Semester 1997 Box 1 of 4.” This would indicate that the doc type is Student Records (good to know for digital organization) and that the contents of this box are from 1997, and that there are three other boxes with related material.
A common mistake is thinking that digital scanning needs to be complex. It doesn’t. If your files aren’t accessed often, you may want to consider indexing at the box level and creating a “digital box” to keep your project simple and your costs as low as possible.
Folders / Files
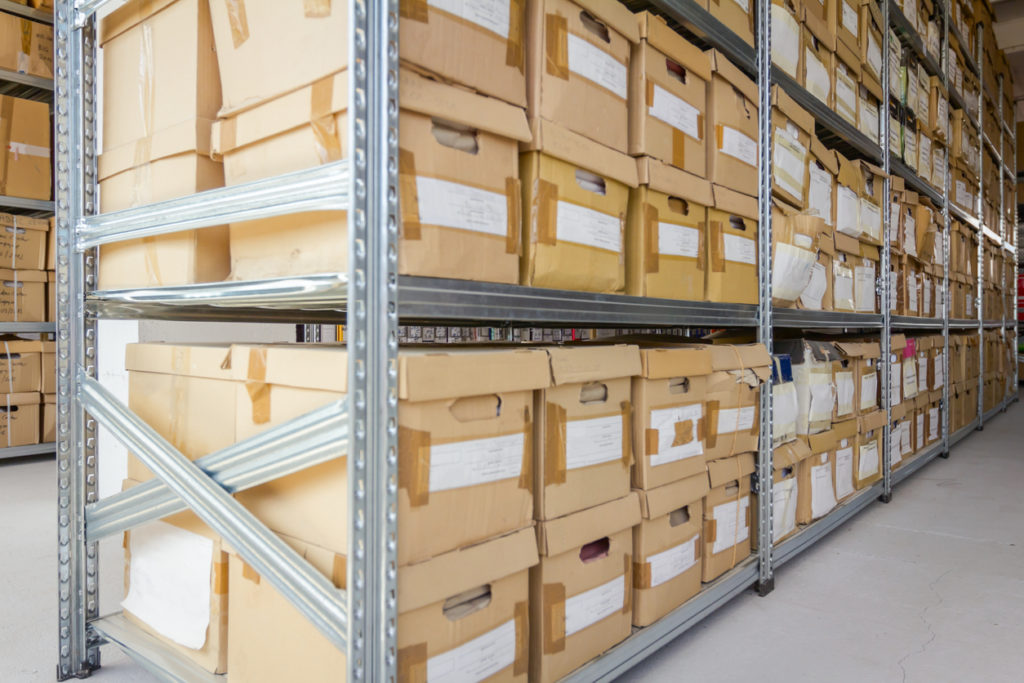
Once you get past the box level, you’ll be into the folders and files. These can be organized in numerous ways and each project will have it’s unique spin on it. In general, most people organize and label their files in some type of consistent pattern, although even the most meticulous customers will find that over large projects their own files, labels, and naming conventions have a strange way of changing!
When you’re evaluating your own project, keep it as simple as possible. You should keep in mind that you’re not going to be the one looking at the documents as they’re scanned and reviewed for data entry and indexing, so your native knowledge of the material only goes so far. The simpler the instructions, the better chance of success.
A great way to start is to take a look at a few boxes of your files and just take stock. How are they organized? Do the folders contain roughly the same amount of pages? Are the folders labeled with a printed sticker/tag, or is there handwriting? Are they basic manila folders or are they the kind with the prongs?
Something to keep in mind is that you’re probably going to have files that aren’t in folders but are instead kept together by rubber bands, paper clips, separators, or any other such identifying object. There’s no problem with this, just make sure to have a way for your scanning partner to identify these files and name them!
This information is useful for your own knowledge, but especially useful for the company that scans your files. These are the types of questions we’d want to know if we’re working with you because pricing will be based on the answers.
Last note about folders/files: we often are asked to scan the actual folder or binder so that the original document can be referenced and viewed. Many times this isn’t a problem, but some folder types can’t go through scanners. If this is the case, there are other ways to capture the image if it’s critical to have the original folder image in your digital file.
Pages
The next level down from folders is the page. This is where the content resides and is the smallest unit of the box.
Some considerations for the page level include:
- The condition of the physical pages:
- Are the pages in good physical condition?
- Are they worn down or still sturdy?
- Are they torn, frayed, or curled at the edges?
- Are there spills, marks, or other things on the page that could affect the scanning?
- The quality of the image:
- How easy is it to read the content on the page?
- Is it really light and hard to read, or too dark?
- Do the words and characters stand out from one another (contrast) or do they bleed together?
- The organization of the content:
- This will be important for after the files are scanned and it’s time to index/organize the digital files based on your project criteria.
- Is each page a unique record?
- Do multiple pages constitute a record?
- Can there be multiple records on one page?
- OCR
- OCR, or optical character recognition, can allow you to search pages, documents, and entire databases of information for keywords and phrases.
- If both the condition of the physical pages is good and the quality of the images is good, your OCR results should be useful.
- If the condition and quality is below par, your OCR results may suffer due to the inability of the OCR processors to capture the data.
Fasteners
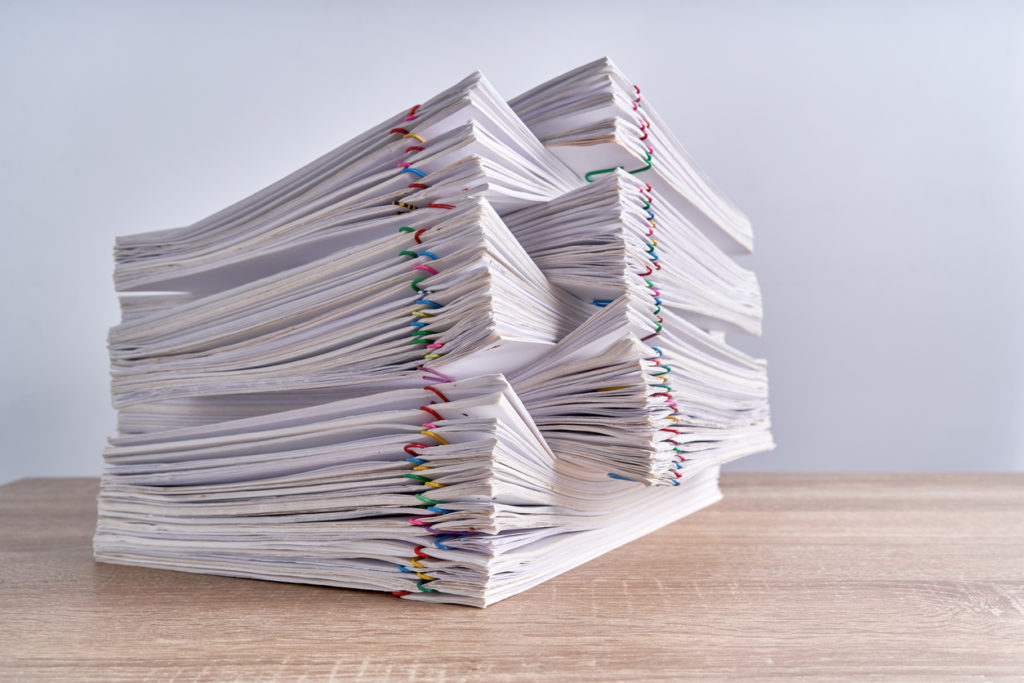
We’ve yet to see a project that doesn’t require any prep, and fasteners (paper clips, staples, rubber bands, etc.) are the main reason that prep is required.
You can’t just take a folder of paper records with staples and other accoutrements, shove it through a document scanner, and hope that it automatically processes the batch. You’d jam it!
Before scanning, prep is required to get the pages ready to feed through the scanners, and the critical step is removing fasteners.
In addition to holding pages together, fasteners can be indicators of specific documents. Even if you have your pages organized into folders, a staple or paperclip might still be an indicator that those specific pages are a separate document within the folder, or that the document needs to be indexed for later reference.
Condition
All documents are not created equal!
Some of the projects we get are super clean and can fly through our prep and scanning processes. Others require slow, heavy document preparation because of unseemly amounts of fasteners and because the condition of the pages is below par.
Poor condition material includes pages that are torn, ripped, curled, folded over many times, old and crumbly/flaky, damp, and even moldy. The worse the condition, the more you should expect to pay to have your project scanned.
Sometimes the condition of material is so bad that we won’t even touch it until we have a waiver from our customer that says we’re not liable for damage. That may sound harsh, but we’ve seen some really bad stuff due to poor storage. And yes, there’s material that will just not get scanned because it’s so bad.
Next Steps
Reach out to us today! Click the “Get Your Quote” button below, fill out the form, and we’ll quickly reply to you to discuss your project.
Further Reading
Below are some articles for you to explore to better understand digital conversion:
“The BMI Project Review Process” illustrates our step-by-step approach to take your digital conversion project from idea to reality. If you want to know how we do what we do and what you can expect from us, this is a great place to start.
“Quality Assurance & Digital Conversion” describes some methods to have your electronic images and data checked once they’re digitized. This is a backend process that’s important but often overlooked.
“Record Retention & Document Scanning” is a brief overview of how scanning can help you with your record retention requirements. Some of your files might be “keep forever,” and others can be destroyed after only a few years. If you understand what you’re required to keep and how long, document scanning can help improve your access to certain files and also relieve you of the space that the physical copies take up!

