Once you’re done with the paper scanning project, what do you do? In our experience, many of our clients like to dispose of their paper files once they’re done scanning and they’ve confirmed that they’ve received all the digital records and data.
In this article, we will give you a high-level overview of our paper scanning project process, the importance of digitizing before you dispose of your paper, a few of the methods available to you, and some information about the destruction process and protecting the security of your records when you make this decision.
Quick Paper Scanning Process Overview
Our paper scanning process is unique to BMI. Every company has its own specific way of running projects, and this is ours. We want to describe it to you so you have an idea of what you can expect when you choose to work with us.
Let’s assume that we have all the contracting in the scope of work for the project done. For instance, you’ve worked with your sales rep, and all the specifications of the project have been hammered out. You’re ready to go, and we’re starting.

First, we need to get the records to us. There will be some form of transportation; there are different methods, but typically it’s shipping to us, or we’re going to pick it up and bring it back to one of our facilities. Once we get the records to one of our locations, we’re going to tag the boxes. We’ll assume that they’re in bankers boxes with a barcoded label that ties into our MTS, which is our material tracking system within our Unity system—an in-house developed application to assist with project tracking, project execution, invoicing, and so on. Those barcode labels contain the information about your project and allow us to track them while they’re in our care, so we can understand where each unit of the project is throughout the entirety of the project.

Then there’s the preparation phase, also known as the prep phase, which involves getting the paper ready to go through the scanners. Before we can put the material through our scanners, they have to be prepared. This preparation can include tasks such as removing staples, paper clips, and rubber bands, taking off sticky notes or attachments and separating them or putting them on other pieces of paper, and segregating large format records that can’t be scanned on the small format high-speed scanners. This part is essential for the scanning project because if the records aren’t prepped properly, they’ll cause jams or get damaged when they’re fed into the scanners. A lot of paper scanning projects are not just about scanning; they’re really prep projects since getting the paper ready takes a lot of time to ensure it can be ingested into the scanning machine.

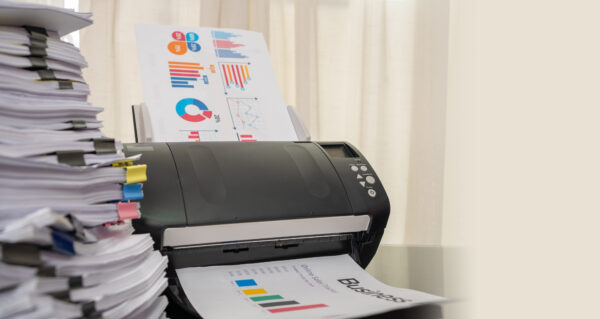
Once the records are prepped, they can be fed into the scanners where our operators will take batches of material, scan them, and visually inspect the images that are captured as they’re scanning. As the documents go through the scanners, the devices automatically capture the data and images from the records and send them into the process flow for your particular project. This is all managed within our Unity system, as mentioned before.

Once the images are captured and entered into the process flow, there is post-scan image processing. This can include adjusting images, ensuring they are oriented correctly, performing quality assurance (QA) and quality control (QC) checks, and potentially applying Optical Character Recognition (OCR) to create text-searchable images.
The next phase is indexing, and indexing is the process of digitally naming the files you provide. This is a significant part of the project because the simpler you go with your indexing requirements, the more cost-effective the project is. The more complex you go, it can not only take longer but can also be more expensive due to the granularity of the indexing required.

Indexing can be done at various levels. It can be done at the box level, which involves capturing the information on the box label, then capturing all the physical pages within that box, naming them by the information on that box, and creating a single file. You may also want folder-level indexing if your files are in folders, binders, or something similar. This would require capturing information at a more detailed level from the actual physical folders. This can range from being simple to complex, depending on how much information you need captured. For example, if the information is consistent, like on the front of the folder or the folder tab, it’s simpler. However, it can be more complex if you have multi-section folders or inconsistent information.
And of course, you can also have page-level or actual file-level indexing within those folders or binders, which becomes more specific and more detailed.
Once all that’s done, there’s delivery, which can be the traditional method of providing you PDFs or TIFFs on a hard drive or through an SFTP electronic transfer. Or you may want something like our Digital ReeL hosted application.
And of course, since we’re talking about disposal in this article, one of the last steps after delivering your files is the disposal process.
The Importance Of Digitizing BEFORE Shredding
Before jumping to the actual destruction and disposal methods and processes, we have to stress the importance of digitizing your records before shredding and destroying them. We occasionally receive requests either to shred documents only, as that’s all a client wants, or to digitize documents and shred the pages, files, and records that were scanned. Clients may also include files that were not scanned but want them destroyed.

In these cases, we typically recommend either a) scanning those documents as well, or b) holding on to them or potentially having a shredding company handle the destruction. The reason is, as a scanning company, our primary job is to capture the images and provide you with that digital file, that digital backup. When asked to shred records that we have not scanned, it’s always a little concerning for us because we want to ensure they are absolutely not needed or that our client already has a digital copy. Once they’re shredded, they’re gone.
Paper Disposal Methods
There are a few main disposal methods, and we’ll go over these briefly here.
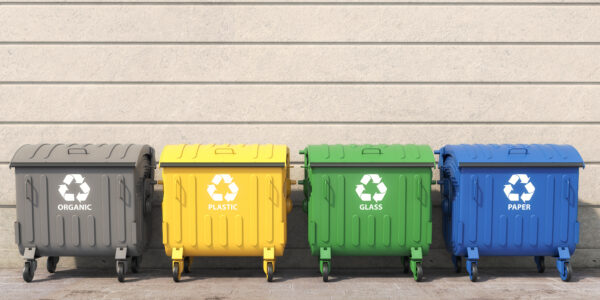
The first is simply trashing or recycling the records. This is typically used for records that are public information, such as newspapers, or for things that are not sensitive and don’t contain any private data. It’s as simple as tossing them in the trash or recycling them once the project is complete.

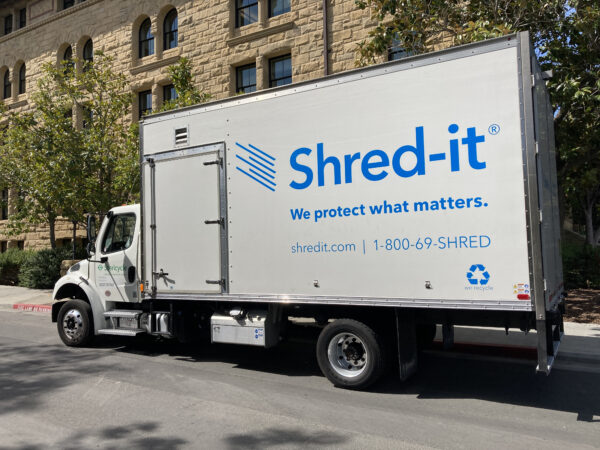
The most common method is shredding. This involves having the records shredded either by the scanning company or by a third-party company. In our case, we work with a company that comes on-site to perform certified shredding, and we watch the process to ensure the records are properly destroyed. This is essential for sensitive or confidential records, as it guarantees that once these records are destroyed, they can’t be used or seen by anyone after the fact.

The last method is not really a disposal method, but rather an option for what to do with records after the scanning project: storage. Typically, long-term storage at large storage companies is quite affordable. If you’re concerned about shredding or destroying the records too soon after a scanning project, storage is always an option to consider.

Material Destruction Request Authorization Process
The process for destroying our clients’ records is just that, a process.
Once we complete a scanning project and deliver the files, we place a hold on those records for a certain amount of time, typically 90 days. Once that timeline is up, we create a Material Destruction Request Authorization form. This form includes client information, the job numbers involved, the number of boxes in the batch being destroyed, and language waiving BMI’s liability once the records are disposed of.
This is critical because we are carrying out a task on behalf of the client. They confirm that we are approved to destroy these records and that once destroyed, BMI will not be liable for any issues such as clients later stating an item was mistakenly destroyed. The signed form serves as the client’s authorization.

Once that form is created, it will be reviewed and signed by our Vice President of Operations as well as our CEO, and then sent to the client for their signature. Once all three parties have executed this authorization form, our team knows that they can move forward with the disposal of records.
Typically, we conduct large batches of destruction at a single time, accumulating a number of records and then having a third-party company come on-site to perform the destruction under the supervision of one of our employees. In some cases, if requested by the client, we can provide certificates of destruction after the records are destroyed.
This process ensures the chain of custody from scanning through destruction.
Protecting The Security Of Your Records
One of the key pieces of our destruction process is that we have the shredding company come on-site to perform this destruction, ensuring it is under our supervision. We’re not just dropping the records off somewhere and hoping that they’re destroyed; we physically watch the process to ensure that our clients’ records are disposed of properly. This way, we can confirm that the destruction is executed correctly. It’s not only for the peace of mind of our clients but also for the peace of mind of BMI.
In Closing
Streamlining your document management through effective scanning and secure shredding is not only about improving efficiency but also safeguarding sensitive information. By understanding each step of the scanning and shredding lifecycle, from initial assessment to final destruction, your organization can enhance accessibility, ensure compliance, and maintain confidentiality.
Next Steps
Reach out to us today! Click the “Get Your Quote” button below, fill out the form, and we’ll quickly reply to you to discuss your project.
Further Reading
Backup Disaster Recovery Plans For Your Organization’s Hard Copy and Digital Data
It’s critical that organizations have a plan to protect both their physical records and their electronic data. This is called a disaster recovery plan. Learn about what you need and what to look for from a scanning partner.
Dos & Don’ts For Successful Digital Conversion
Digital conversion projects can be simple, but that doesn’t mean they’re easy. In this article we’ll give you some “dos” that’ll get your project moving in the right direction (success!) as well as some “don’ts” that you’ll want to avoid.
Ensuring Data Security During the Digitization Process
Choosing a scanning partner is tough. Knowing they’re keeping your records secure is tougher. Learn about different security aspects of a digitization project and how to check if they’re being followed.

