Digital scanning and conversion projects can be a lot of fun, especially when you get into the specifics about how you’ll use and interact with your files once they’re digitized. The most exciting parts usually revolve around the highlights such as timeline, price, and amount of material (such as number of microfilm rolls or boxes of paper). A critical piece of the digital puzzle that must be addressed early is the end result, the digital file format that you’ll get when the project’s complete.
It might not seem like it’s important (“just give me some PDFs. That’s what everyone does, right?”) but the image file format you decide to receive can have various impacts on how you use your records later. Below is a brief overview of digital file format options and what to consider when you work on a conversion project.
What Is A Digital File Format?
In a nutshell, the digital image file format is the type of file that you want to receive when your project is complete; it’s what your scanning partner will deliver as a completed product. For instance, one of the most common formats is a PDF file.
And why is the delivery file format important? It may not seem like a big deal, but the file format you decide to receive can have an impact on your project scope – all parts of the digital conversion project can be affected, from the up-front manual scanning and raw image creation to the post-scan processing and final delivery.
Knowing your options for delivery file formats and the differences of each will help you plan out your conversion project to be as successful as possible.
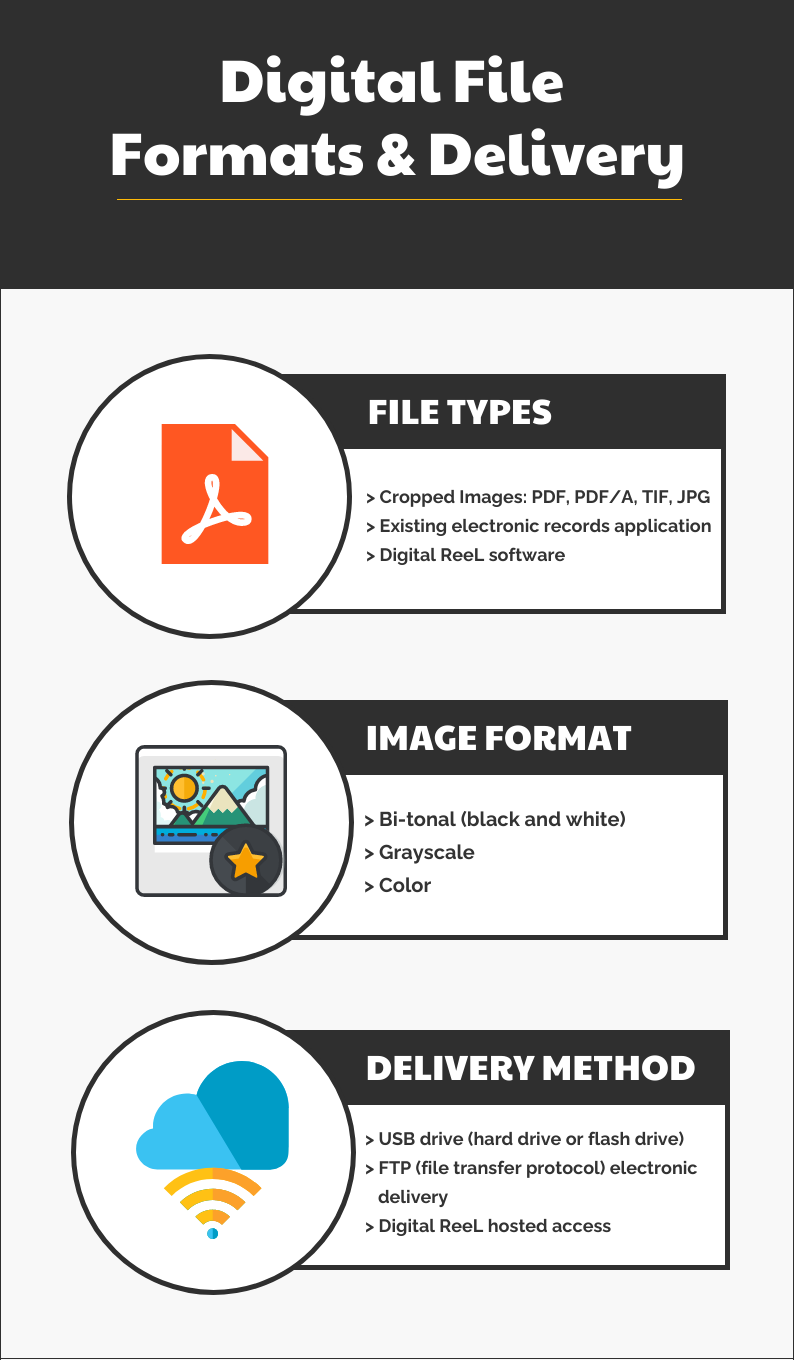
What Are My Options For Digital File Types?
Cropped images
“Cropped images” are probably what you imagine when you think about a digital file, though the term might be new to you. It’s basically the image of the digital file, such as a PDF document. Cropped images are the workhorse of the digital world because they’re the images and data that you want to look at, the information and records you need in your office. Even if you use a different method of access (such as a records management system) you’re still effectively using the cropped image as the base file; it’s just layered into the digital application.
Various image file formats include:
Probably the most recognizable digital file format, the PDF (“Portable Document Format”) was created by Adobe in 1992 and is meant to be able to present documents independent of the software, hardware, or operating systems used (Wikipedia).
PDF/A
The PDF/A is a PDF that is formatted specifically for archival preservation. It differs from a standard PDF because it “requires that everything necessary to precisely render the document is contained in the PDF/A file, including fonts, colour profiles, images and so on. PDF/A forbids dynamic content to ensure that the user sees the exact same content both today and for years to come.” (PDF Association)
TIF
TIF (or TIFF) files are “tagged image file formats.” They’re raster-based images that can store a lot of metadata. A raster image is one that uses a dot matrix structure to create the image; in other words, lots of rectangular pixels. TIF files can be large but are able to be compressed. A critical feature of a TIF is that it’s a lossless compression format, meaning that even when compressed, data doesn’t get lost. (Canto.com)
JPG
Formally written as JPEG, or Joint Photographic Experts Group, this is a high-quality file that uses lossy compression to reduce file size. Lossy compression means that the original file is compressed by techniques to reduce data size for storing – actual data is discarded or approximated to compress the file. In effect, you’re losing data from the original image. However, the data that’s “lost” likely will be unnoticeable to you and won’t affect the content. (Canto.com)
Existing electronic records application
You may have an existing software application that you use to store and access your electronic records. The software isn’t a file format, per se, but because you’re searching for, accessing, and viewing the files within the application we’ll consider it a type of file format.
There are probably hundreds of different applications available today, some that span industries and some that are made for specific types of organizations (such as law enforcement agencies or county recorders).
If you have an existing electronic records application, you’ll need to provide the specific types of files that can be imported into the system so that it can ingest them properly and allow you to use them.
Digital ReeL
Digital ReeL is our own electronic document application, originally created specifically for archival microfilm records. Over the years it’s been updated and re-tooled to ingest other types of records and can serve as a primary-use electronic document management system.
Technically, Digital ReeL could be included in the “existing records application” since it’s similar in many ways to other software applications, but we’ve added it here because of its ability to virtually display microfilm and microfiche in their original context, which differentiates it from the other applications.
Resolution
Resolution is the number of pixels per inch (PPI) that will be used to create an image. Although the correct phrase is “pixels per inch (PPI),” the term “dots per inch (DPI)” is the common way of describing resolution because DPI came from photography before pixels were used in digital imagery.
300dpi is the standard of the digital scanning world. The vast majority of digital conversion projects that we do are scanned at 300dpi. A decent amount of paper scanning is done at 200dpi, but 300dpi is still the norm.
You can pretty much ask for any resolution from 150dpi – 1,000dpi, but it’d be a request out of the ordinary.
Image Format
When we say “image format” we’re referring to the image options you have available when you scan your material: bi-tonal (black/white), grayscale, and color.
Bi-tonal
Bi-tonal, or black & white, scanning is the base method of creating digital images. When your hard copy records are scanned, the pixels on the image are identified as either black or white.
Bi-tonal images are great because they’re the smallest file size of the three options so they take up the least amount of digital storage space, and if your original records are in good condition and legible, the scanned images will come out clean and crisp.
The downside to bi-tonal scanning is if the original hard copy records aren’t very good quality, or if there are brightness and contrast issues – in these cases, you might be an image that is too bright or too dark once it’s scanned. This happens because the image processor can only apply a black or white setting to each pixel, so if there are parts of your image that are a bit gray, it might get the wrong setting applied.
Grayscale
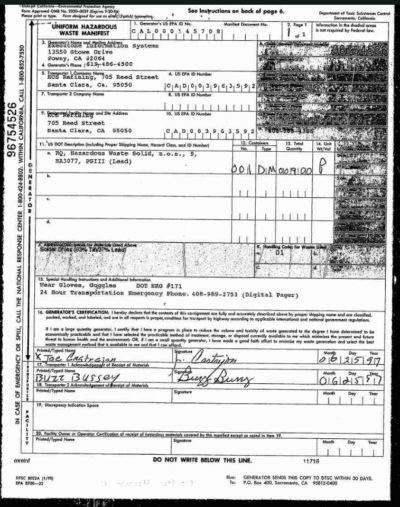
The next level up is grayscale scanning – it’s similar to bi-tonal scanning in that you’re technically getting black and white images, but now the individual pixels are adjusted with “tonality,” which gives you shades of gray. This allows the image to better reflect the original document instead of changing images into solely black or white pixels.
The benefit of grayscale images is that you’re likely to have a more life-like representation of the original record than if it was scanned in bi-tonal. The shading of the document will be captured, and if there are markings like handwriting, stamps, and seals, those will be displayed more clearly.
The downside of grayscale images is that the file sizes are usually much larger than bi-tonal images, maybe 3-5x the size. If you have a bi-tonal PDF that’s 300kb, the same images scanned in grayscale could produce a file that’s 1,500kb. This might pose a problem when you have millions of images and limited storage space.
Color
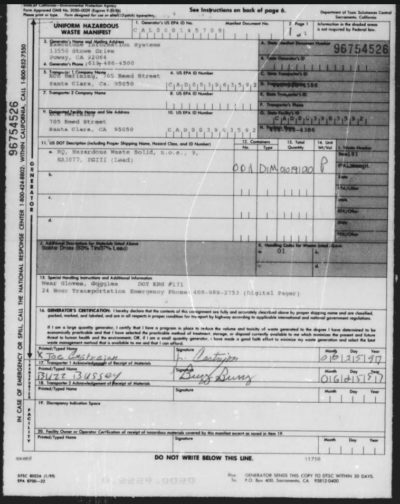
Lastly, we have color. Color scanning provides you with the true representation of the original document because it’s not converting anything to a black or white pixel. If you scan a hardcopy newspaper with color photos on it into bi-tonal or grayscale, you’re not seeing the true original image. If you scan in color, you are.
The upside of color scanning is that you’ll be able to see the digital image in the way that the original document was made. Even if you’re looking at something like a student record, there could be edits in red marker that you’d only see in color.
The downside is that color images can be huge, even larger than grayscale.
Delivery Method
You’ve gone forward with a digital conversion project and decided on the file format you want once the project’s complete. That’s fantastic because you’re about 95% of the way to the end. One of the final steps in electronic document delivery is the method by which you’ll receive the files. Common options are a USB drive, FTP electronic delivery (file transfer protocol), and our own Digital ReeL hosted application.
We can work with any method you choose, so it’s up to you on what’s best.
USB drive
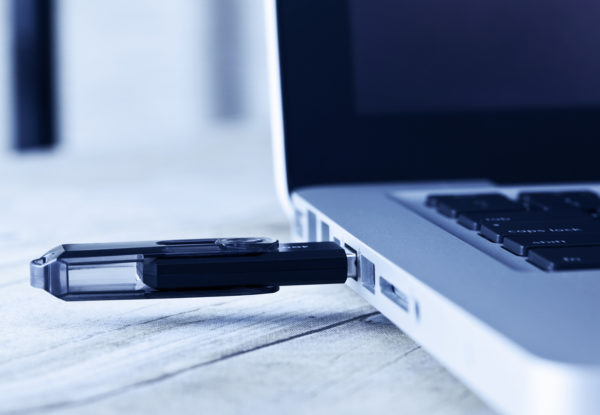
Simple and easy. If you ask for a USB drive, we’ll load the completed files to a USB drive (either a hard drive or thumb drive, depending on the project size) and deliver it to you once the project’s wrapped up. If you’re really far away, we’ll ship it; if you’re close, we’ll most likely deliver it ourselves.
If your project files are sensitive (such as criminal records or HIPAA), we’ll encrypt the USB drive for added security.
FTP
FTP stands for “file transfer protocol” and is basically an electronic method of sending files. We load the files to our FTP site and provide you with login credentials. You log in, access the folder, and download your files. It’s kind of like using Google Drive or Dropbox.
Like the USB drive, if the files are sensitive then we’ll load your project to our secure FTP site for added security.
Digital ReeL
Our Digital ReeL hosted solutions is a standalone software application that you can use to digitally store and access your files. If you choose to go with Digital ReeL, you won’t need USB drives or FTP sites – instead, you’ll access your records directly within the web-based secure platform.
Which One Is Best For Me?
Great question, right? No silver bullets here, no one-size-fits-all. The way you’re planning to use the digital files should guide your decision, not what other people tell you or what you think you should do. A TIF file is just as good as a super-slick hosted-access application, as long as it’s making you effective.
Next Steps
Reach out to us today! Click the “Get Your Quote” button below, fill out the form, and we’ll quickly reply to you to discuss your project.
Further Reading
Interested in learning more about scanning projects and digital conversion? Take a look at some related content linked below:
“Quality Assurance & Digital Conversion” is an overview about a somewhat hidden part of digital projects, the quality checking part. There are many ways to run QA, so having an idea of what works best for you will help guide your decisions when you start your project.
“Your Guide To Document Scanning & Redaction” describes the meaning of redaction and how it applies to digital conversion projects. If your digital files contain sensitive information that needs to be obscured, redaction could be the next step in your project.
“Breaking Down The Box” lays out various ideas for you to consider as you approach your paper scanning project. It might be best to “break down the box” by parsing out your project into smaller, more manageable pieces.

