If you have microfilm and are thinking about scanning it to an electronic format, you may be wondering about the actual process that takes your film from hard copy to digital. That’s great! Every scanning company will do this in their own way, and it’s important for you to know what will happen to your microfilm documents once you give them to potential scanning service providers.
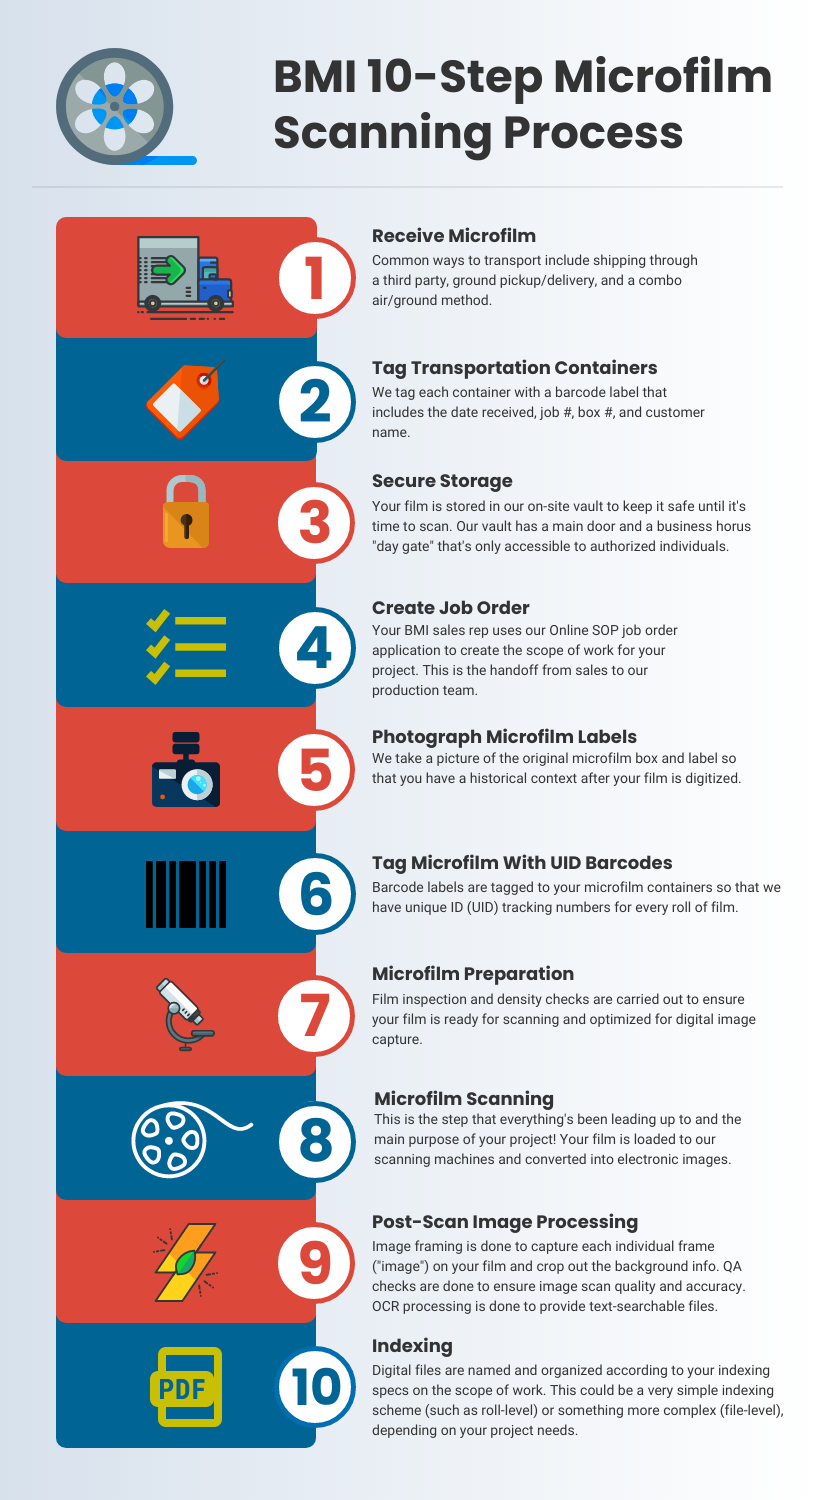
Below is our 10-step scanning and imaging process to convert microfilm and output digital image files. Once converted, you’ll have a modern and effective way to access your scanned documents.
Don’t like reading? Watch the video below that dives into the
microfilm scanning process with extra bits not in the blog!
Receive Film
Step number one in our microfilm scanning process is obtaining your microfilm records. After all the crafting, scoping, revising, and contract signing that happens before the project starts, getting your film to our facility and getting your thumbs up to start is how we kick off your project.
We have various methods to get your film from here to there, usually location dependent. The most common methods are for us to pick up your film in one of our secure vans or for you to send it to us via third party carrier. For details about common shipping methods you can take a look at our article that goes deeper into this topic.
Regardless of who you decide to work with, please make sure to prepare your film correctly! One of the biggest peeves our project folks have is to open boxes of microfilm that have been haphazardly thrown together. That will likely cause delays in getting the project started and is just messy. We’ve written a piece that gives our tips for prepping your film for a scanning project, and hope that it helps you when you decide to move ahead.
Tag Transportation Containers
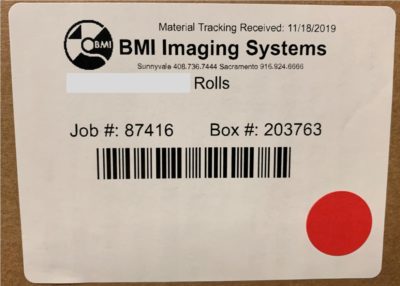
After your microfilm arrives at our facility, our operations team will identify the job order associated with your project and tag each transportation container for secure storage. We use an internally-developed solution called MTS (“Material Tracking System”) to provide us with an audit trail of what was received, how many units, and which of our employees has “checked in” or “checked out” the material.
We use barcodes to give us the ability to quickly scan the material, and the tag also includes information such as Date Received, Job #, Box #, and Customer Name.
Secure Storage
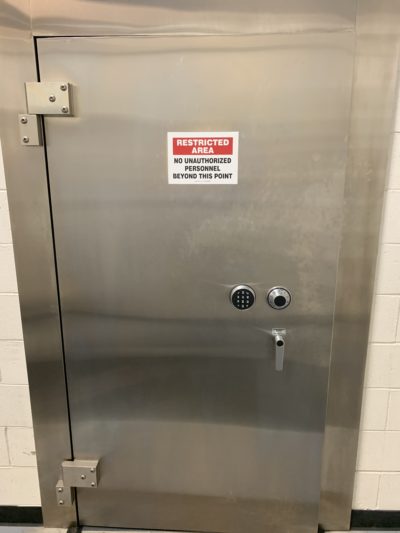
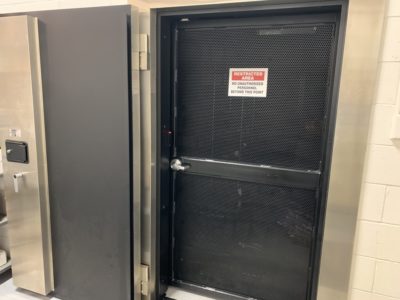
Once your microfilm is tagged, we’ll keep it in our secure storage area until it’s time to prepare it for scanning. Our on-site vault is where all microfilm is stored when not in film prep or scanning.
The vault is a secure and segregated storage space and only authorized individuals have access to our vault. Additionally, the “day gate” is kept closed and locked when the primary vault door is opened during our business hours.
You might be thinking, “why is my film going into a vault instead of being scanned?” The reason that your project might not get started immediately after it shows up at our plant is because we usually have about 100+ active projects at one time. Not all of them are film scanning projects but most of our employees have various roles that overlap on multiple projects. Also, when your film arrives is when your BMI sales rep will create the project job order so that our production team knows the requirements for scanning your film.
Create Job Order
To get your film scanning project running, our production team needs to have the project specifications so they can create your process flow and run the project. This falls to our sales reps who created the original scope of work with you during the initial project process.
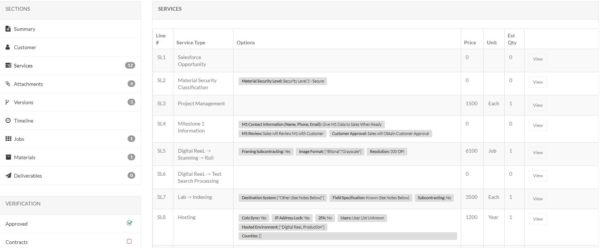
The tool we use is called OnlineSOP (“Online Scope of Project” or “SOP” for short) which resides within our Unity System application. Using SOP, our reps translate the scope of work into a line-by-line project order.
A project order includes items such as:
- Material security classification level of your records
- Scanning resolution (i.e. 300dpi, 400dpi)
- Output format (PDF, TIF, Digital ReeL)
- Indexing specifications
- Special instructions
This isn’t an exhaustive list because every project is unique and we’re just giving you an idea of what we’re doing!
Project Tracking
In addition to MTS, which is used solely for material tracking, your film will be monitored in our Unity System.
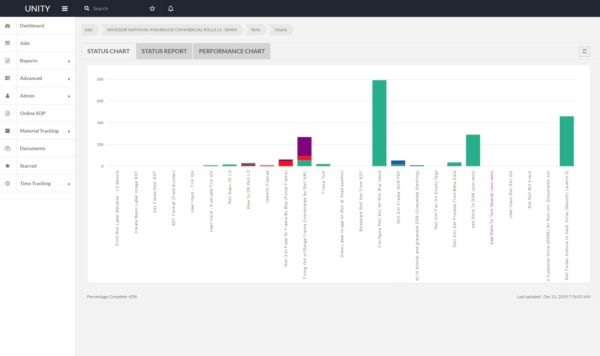
Unity is another self-developed application that allows us to track your microfilm throughout the life of the project and at every stage of the process flow. Once the SOP project order is created, it’s assigned a job number and is then tracked within Unity through completion.
Below is an image from Unity. It’s a process flow chart that shows each step of a project and how many rolls of film are at each stage of the project. Additionally, the bar colors indicate the status of each roll during every step of the project.
Photograph Labels
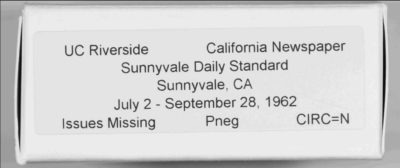
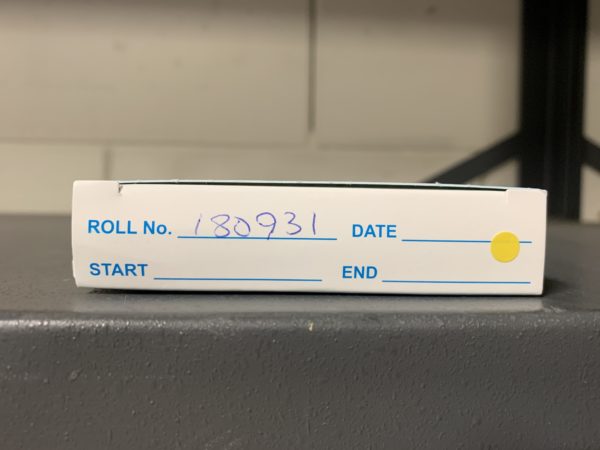
When we scan microfilm we track each roll of film to ensure we’re operating as productively as we can. Once your project workflow has been created and we’re ready to start, each roll will be individually photographed within its box. This allows us to present you with an image of the label and the original index information.
Even if you don’t plan on using this label once the film is digitized, it’s good to have a backup of the original label for a historic context. Sometimes customers want to go back to the original and see how the physical film was named, and this allows you to do that without having to actually handle the hard copy records.
Tag Microfilm With UID Barcode Labels
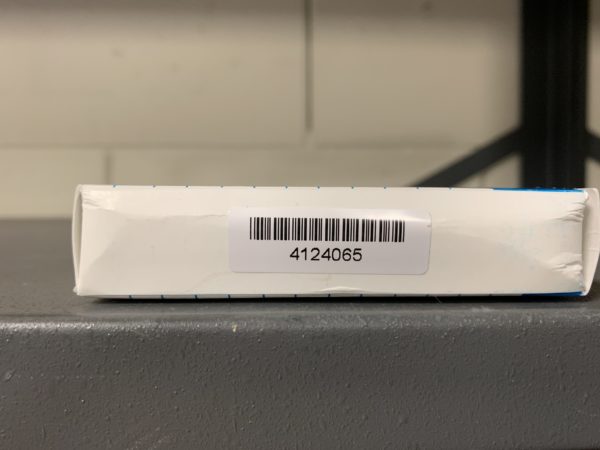
Once the rolls are photographed we add UID barcode labels to each individual microfilm roll. UID stands for “unique identification” and this allows us to track the progress of your project to the exact unit, regardless of the complexity of your process flow. If you have 5 or 50 steps in your process, your microfilm will be tracked to the individual roll the entire time. UIDs also prevent duplicates and overlapping content because the UID is unique and non-repeating.
Microfilm Preparation
Film Inspection
To ensure your film is capable of being scanned, we have our operators load each roll of film onto a spool so that they can review the entire roll of film and check for the following:
- “Leader” at the beginning of a roll so that it can load properly onto the scanning machine
- Splices, tears, or other issues that may need to be mended to prevent damage to your film while scanning.
- Deterioration that could affect our ability to scan the film and/or the quality of the images created by the scans.
- General condition and quality of your film.
Density Checks
In parallel with our Film Inspection step, our operators conduct density checks on each roll of microfilm.
A density check consists of capturing information using a densitometer. We capture three density data points: one at the beginning of the roll, one in the middle, and one at the end. Once we have the three data points we create an average density for each roll, and this info is entered into Unity so the scanner operators can use it when they scan the film.
A density reading is used to calibrate our scanning machines for each roll of film; this allows us to enter the optimal scan setting for the roll as a whole unit. It’s important to note that we’re not optimizing each individual image; instead, we’re optimizing the reel of film as a whole.
Individual image optimization is possible but can be expensive. Instead, we provide a best-case scan setting and can give you the option of optimizing and enhancing images when needed using our Digital ReeL application.

Microfilm Scanning
After prep, your rolls are ready to be scanned. They’re moved to the scanning room and our operators select the film based on a “work available” report.
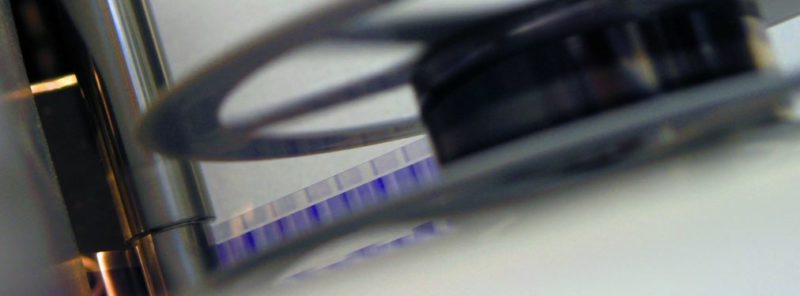
Our scanner operator will select the appropriate project (by job number) and the scanning machine will automatically be calibrated based on the specs of the process flow for that job. The operator will then scan the microfilm roll’s barcode so that the system can pull the appropriate density value to be applied during scanning. Lastly, our operator will select either “cine mode” (roll images oriented vertically) or “comic mode” (roll images oriented horizontally) based on each individual roll’s layout.
Once each roll is scanned, the images are transmitted back to Unity for back-end processing.
The time to scan all your film depends on the size of your project and the schedule for completion, so it could be a couple of days, a few months, or even a year to finish the scanning. We typically scan projects in large batches so that we don’t have too many “pieces” of a single project, but the speed at which we scan will be based on the availability of your microfilm.
“Scan Complete” Sticker
After a roll’s been scanned, our operators manually mark each roll with a sticker to indicate that it’s done. We love technology and automation, but this is still a step we use as a redundant method to make sure we don’t overlook some microfilm.
Most projects are hundreds or thousands of rolls, and this is a step to mitigate the chance of a) scanning a roll twice, and b) not scanning a roll at all.
Post-Scan Image Processing
After your microfilm has been scanned, the images will go through our post-processing steps to ensure you get a good end product.
Framing
Image framing is one of our post-scan processes. “Framing” an image means capturing the actual image on the microfilm roll and not the background film. We’re basically cropping the image to the original physical document that was photographed and microfilmed.
We have a plug-in that automatically frames each image after scanning, but even this tool can miss frames if the quality of the microfilm isn’t that good. After the auto-frame tool runs through a roll of film, we have a secondary step to check that frames weren’t missed.

Quality Assurance Check
Another of our post-scan processes is the QA step (quality assurance). This step is to make sure that the quality of the images captured is correct and that images haven’t been corrupted after the scanning process. An important note is that our QA step is there to ensure that we haven’t done something that affects the quality of the microfilm and images; however, if the condition and quality of the material is already poor, we may not be able to fix the issue.
Sometimes microfilm has been stored improperly or has degraded over time, or maybe was just improperly created. If this is the case then there may not be anything we can do to improve your images, although we’ll recommend solutions if we think we can help.
OCR And Text Search
If you decided to include OCR (optical character recognition) in your project, this is the time that your images will run through our OCR processors to capture characters and data.
Not sure what OCR is? Take a look at our article to get a better idea of what it is and how you may use it for your own project.
Indexing
Once your microfilm has been scanned and run through our post-scan processing steps, we’ll move on to the indexing, or naming, of your digital files. The indexing will be based on the data capture specs that are in the scope of work and job order; you might have your film indexed at the roll level (whatever’s on the box that holds the individual reel), or you might have something more elaborate like file-level indexing (naming individual files within the roll).
Load To Digital ReeL
Digital ReeL is our hosted cloud storage microfilm archive application, so let’s assume that it’s the end product for your project.
Once your microfilm has been scanned it’ll be loaded into Digital ReeL as soon as it moves through the process flow. Our process flows work in real-time, so instead of waiting until the entire project is complete to receive your digital files, you can access your records immediately. This is critical for record retrievals because if you have an “exception” roll that fails a step in the process flow, you don’t want that one roll holding up another couple of hundred! Unity automatically flags the problem roll and notifies the project manager, who will then resolve the issue when able. All other rolls will continue to move through the process flow regardless of the exception roll, allowing your project to progress.
In addition to being a product you can use as your primary digital document retrieval method, you might instead use Digital ReeL as a QA tool during the project execution. Many customers contact us for a scanning project and already have an electronic records management system in place; they just need us to scan and index their records and then load them into their system. While the project is running, you can still use Digital ReeL to view your files before they’re delivered with the final specs for import to your system. Also, even when you get a standard file format (PDFs or TIFs) for import, you may find that some images could use optimizing; Digital ReeL gives you an image enhancement tool so you can optimize images and export them for other uses.
Next Steps
Reach out to us today! Click the “Get Your Quote” button below, fill out the form, and we’ll quickly reply to you to discuss your project.
Further Reading
To learn some more about microfilm scanning, take a look at the articles listed below:
“The BMI Project Review Process” illustrates our step-by-step approach to take your digital conversion project from idea to reality. If you want to know how we do what we do and what you can expect from us, this is a great place to start.
“Traditional Microfilm Conversion vs. Digital ReeL” is a comparison of what we call a “traditional” method of scanning (creating PDFs, TIFs, etc.) and our Digital ReeL solution. There isn’t a right or wrong way to convert microfilm, so if you’re not sure what options you have available to you and are curious about the pros and cons, this is a good place to start.
“The BMI 6-Step Microfilm Scanning Process For Small Projects” covers how we handle projects that are on the “smaller” side compared to our normal jobs. If you have fewer than 100 rolls to scan, take a look!

