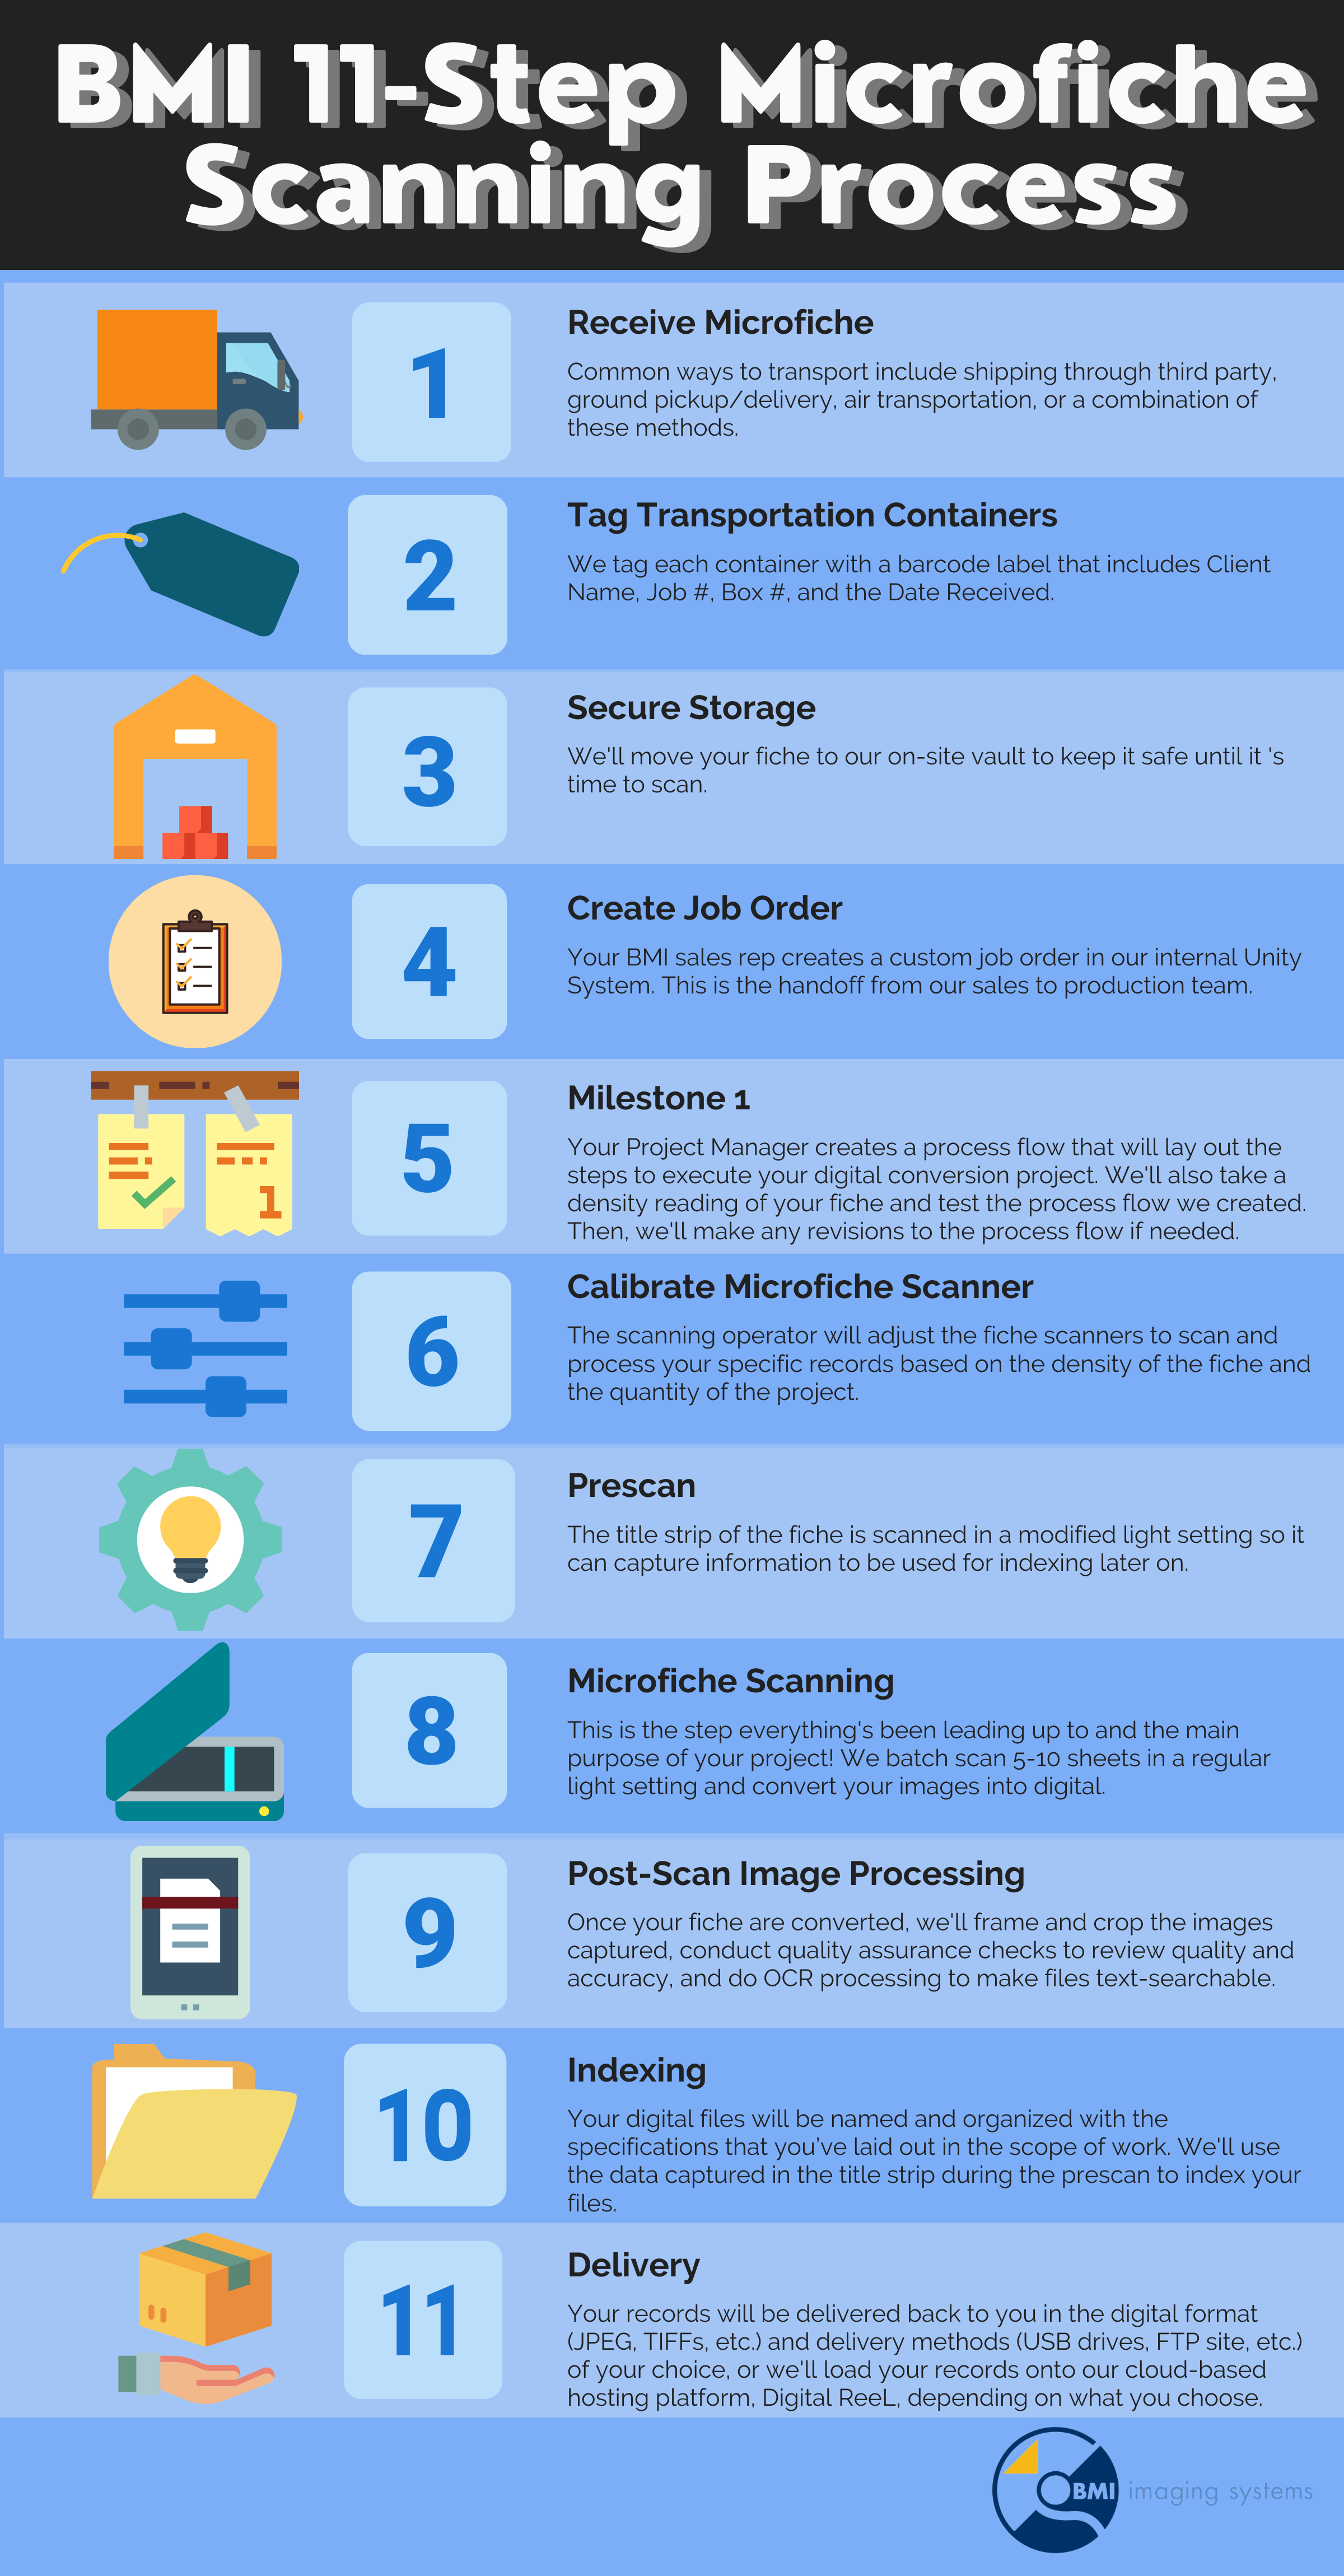
If you have microfiche records that you’re thinking of digitizing to an electronic format, you may be curious to learn the process that takes your fiche from physical copies to digital. Every scanning company has its own distinct scanning process, but here is our 11-step microfiche scanning process that outlines what you can expect if you choose to work with us for your microfiche digitization project. Our process covers everything from transportation, scanning, image processing, indexing, and more. Once you digitize your collection, you’ll have a modern and effective method to access your digital records.
Receive Microfiche
To be able to scan your microfiche, we’ll need to get your records to one of our secure scanning facilities. The transportation logistics is outlined in the scope of work and contract phase before the project kicks off. You’ll be given a couple of options to choose from on how you want to get your records to us, such as through a third-party vendor, ground pickup and delivery using our vehicles, air transportation, or a combination of these methods. Typically, the method that you choose is dependent on your location. Read our article on microfiche transportation to get a better idea of what transportation methods make the most sense for you.
Another consideration during this step is how to pack your microfiche for transportation. Our article about packing microfilm gives you ideas on how to pack and organize your records so they’ll arrive at our facility safely and in an organized way (the same concepts that apply to microfilm also apply to microfiche). Something to avoid is randomly packing your records and sending them to us; do as much as you reasonably can to keep the fiche organized and labeled to match the project requirements.
Tag Transportation Containers
The first thing we do once your microfiche arrives at our facilities is tag each transportation container (banker’s box, plastic storage box, etc.) with your project’s details. These tags include information such as Client Name, Job #, Box #, and the Date Received. Each tag also includes barcodes on them so our production team can easily scan the barcodes for internal tracking.
All material and job data is automatically populated into an internal system called MTS (“Material Tracking System”) to provide us with a record of what was received, how many boxes in total, and which of our employees received the material.
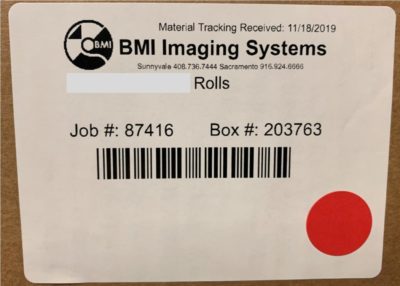
An example of a label we’ll use to tag your transportation containers with your project’s details
Secure Storage
Once we finish tagging your containers, we’ll place them in our secure storage area. We’ll keep your records here until it’s time for them to be scanned or evaluated. Only authorized individuals with the proper security clearance have access to this storage area so we can ensure that your records remain protected while we conduct other steps to prepare for your scanning project.
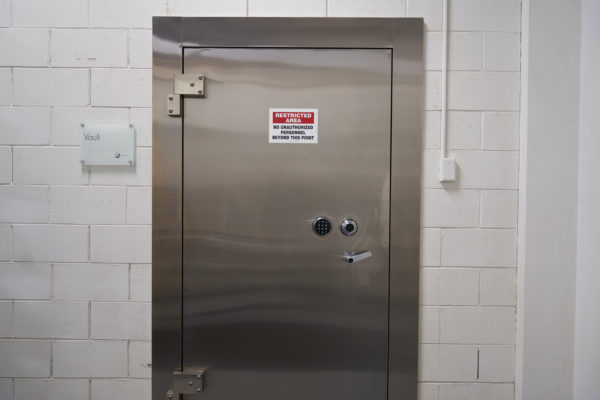
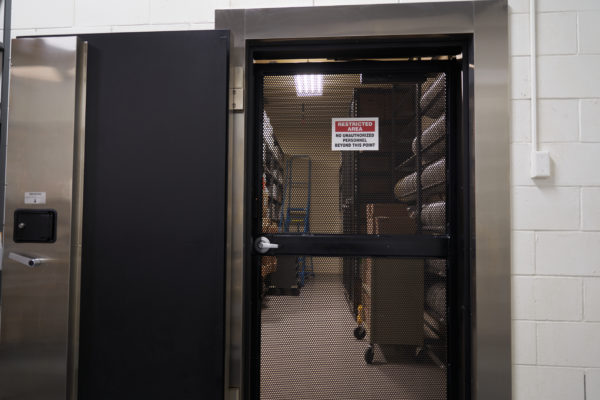
Our security vault where we’ll placed your records
Create Job Order
Before we get to the scanning portion of your project, your sales rep will create a custom job order that our team can use to process your fiche. The job order will be based on the agreed-upon scope of work and contract and will be created in our internal Unity System. Once the job order is created, your sales rep will submit it for approval from our Production team.
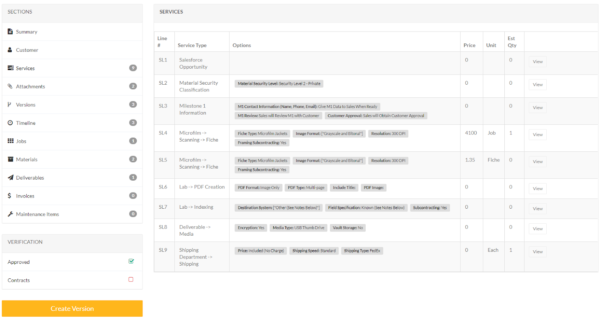
A custom job order on our internal Unity System
Milestone 1
Once our Production team approves the job order, it’ll get passed on to the Project Managers for our Milestone 1 (M1) “build-test-refine” process.
The first part of the M1 is for the Project Manager to create a process flow that will lay out the steps to execute your digital conversion project. The process flow will cover every single step that your fiche will go through, including processes such as prep, scanning, indexing, OCR, framing, export, and hosting.
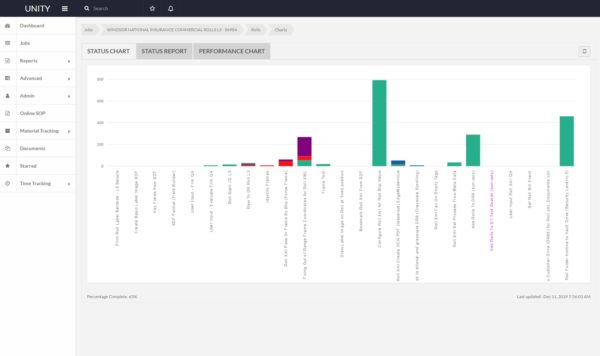
An example of a conversion project’s process flow on our internal Unity System
During this stage, we’ll also take a density reading of a small subset of your fiche so we can later use this information to configure appropriate settings on our scanners for optimum image quality. These settings will be saved and used in production for the remainder of the project. For the most part, we keep the settings the same across microfiche scanning projects but we might have to change the settings for your project depending on your fiche type and source material.
After your process flow is created and the density reading is taken, we’ll test a small sample batch of your microfiche collection with the process flow we’ve created. This step allows us to test if the process flow we’ve set up is right for your specific project so we can make adjustments early on before we go into full production. It also gives you a chance to review the project and make sure that everything matches the agreed-upon scope of work and what you expected to get.
If the sample batch test did not pass the “stress test” or meet your expectations, we’ll make revisions until you’re satisfied with the conversion process flow. Once we get your approval, we’ll be able to start scanning the rest of your microfiche records.
Calibrate Microfiche Scanners
Before we start scanning your microfiche, our scanning operator will adjust the fiche scanners to scan and process your specific records. Not all fiche are created equal, so each client project has to be set up specifically for their collection. They’ll do this by setting the fiche scanner to the proper calibration based on the quantity of the overall project and the density for the fiche type from the density reading that was conducted in the previous step.
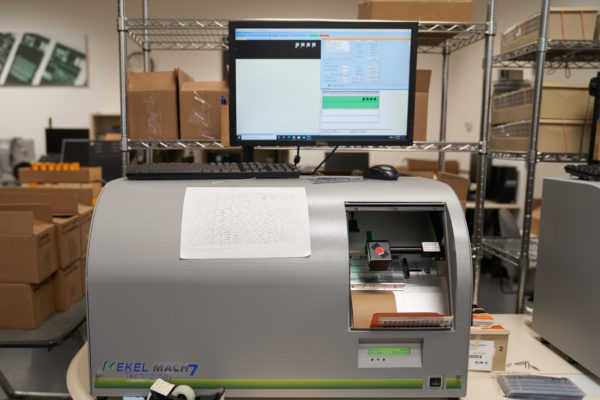
One of our many microfiche scanners
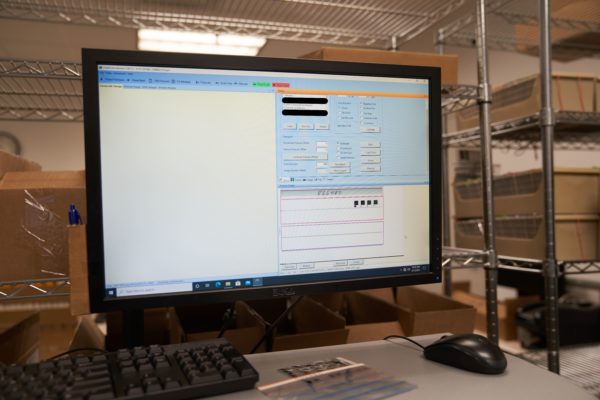
Different settings on a microfiche scanner
Prescan
After the scanners are calibrated, the scanner operator will put in a batch of microfiche, normally around 5-10 microfiche sheets. Microfiche are scanned in batches so the scanning machines can run semi-autonomously for a short period of time and allow our operators to process larger quantities of fiche as efficiently as possible.
For each sheet of fiche, the scanning machine will automatically complete a “prescan” of that specific sheet prior to scanning the rest of the sheet. In the “prescan” step, the title strip of the fiche is scanned in a modified light setting. The reason why the title strip is scanned in a modified light setting is that the title strip could be made with different materials than the rest of the sheet so it isn’t transparent, have a different density than the rest of the sheet, or could have tape and handwriting on it. We have a different camera in the scanning machine that is specifically used to capture the information on the title strip. The information captured from the prescan will later be used for indexing. Every individual microfiche goes through this prescan process.

The title strip of a microfiche sheet
Microfiche Scanning
As mentioned above, each fiche sheet will be “prescan” first before the rest of the sheet will be scanned. When the rest of the sheet is being scanned, it’ll be captured in a regular light setting. Once it’s done scanning the entire sheet, it’ll move onto the next sheet and it’ll do that until the entire batch is complete.
During this phase, our scanner operators are following internal quality control procedures so they can minimize double feeds, mis-scans, or false positive scans.
Post-Scan Image Processing
After scanning, we’ll conduct post-scan image processing steps to ensure that you get the end product you asked for. Some of the post-scan image processing steps are optional depending on your needs. For example, if you don’t need text-searchable digital files, we won’t run your images through our OCR text-search process.
Framing
One of our post-scan processes is framing and cropping. When we say we are “framing” an image, it means to only capture the images on the fiche and not the background around it. We do that by cropping the image to the original document that was photographed and microfilmed. At BMI, we have an internal tool that automatically frames each image after it’s scanned.
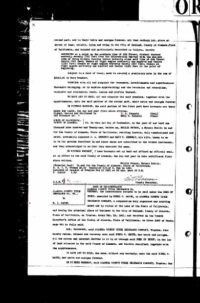
An example of what a non-cropped image looks like. You can still see the border around the document
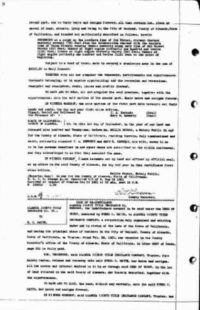
An example of what a cropped image looks like. The border around the document that you saw earlier is no longer there
Quality Assurance Checks
Another step in the post-scan image processing stage is our quality assurance step. Quality assurance checks are the steps we take to ensure that the quality of the images we captured is accurate and of good quality. If the quality was compromised because of the scanning, this is where we try to fix it.
There are times where the image quality is poor because the microfiche was not stored properly or due to deterioration. If this is the case, then there is not much we can do to fix the quality, but we’ll still try to find a solution to the problem.
Optical Character Recognition (OCR) & Text Search
If you want to make your digitized files text-searchable, then you may choose to apply OCR. We use our OCR software to capture characters and data in your newly digitized files. Once the software processes the data, you’ll be able to search using keywords and phrases to find what you’re looking for.
Indexing
After post-scan processing, we move forward with indexing and organizing your digital files with the specifications that you’ve laid out in the scope of work. To index your files, we use the data captured in the title strip during the prescan. This data is usually processed in a separate data entry process. The indexing step of your scanning project is vital because it enables you to easily locate the content you need when you search for it in the future.
Delivery
Lastly, we deliver your records back to you in the digital format (JPEG, TIFFs, etc.) and delivery methods (USB drives, FTP site, etc.) that you want.
Digital ReeL
If you choose to host your newly digitized microfiche collection in our cloud-hosted Digital ReeL platform, we’ll import your digital records into the application and set everything up for you. With Digital ReeL, you’ll be able to store your digitized microfiche records and access them anywhere as long as you have an internet-connected device. The application also has search capabilities and built-in image enhancement tools to help with image quality and record retrieval.
Next Steps
Reach out to us today! Click the “Get Your Quote” button below, fill out the form, and we’ll quickly reply to you to discuss your project.
Further Reading
To learn some more about microfiche scanning, take a look at these articles:
“Microfiche Scanning: 6 Frequently Asked Questions” answers common questions that we often hear about a microfiche scanning project, such as “what type of microfiche do I have?” and “what are my options for microfiche digitization?”.
“How Much Does Microfiche Scanning Cost?” gives a general microfiche scanning price and reviews the different cost factors that could affect the overall project.
“3 Mistakes That Can Derail Your Microfiche Scanning Project” describes common mistakes that happen during microfiche scanning projects. Avoid these and you’ll have a successful project!

